Lately I have been fascinated with making pouches! In particular quilted pouches.
I love working on pouches because they are small – a lot smaller than a queen size quit – they are relatively quick, there is a lot of creativity and they are functional!
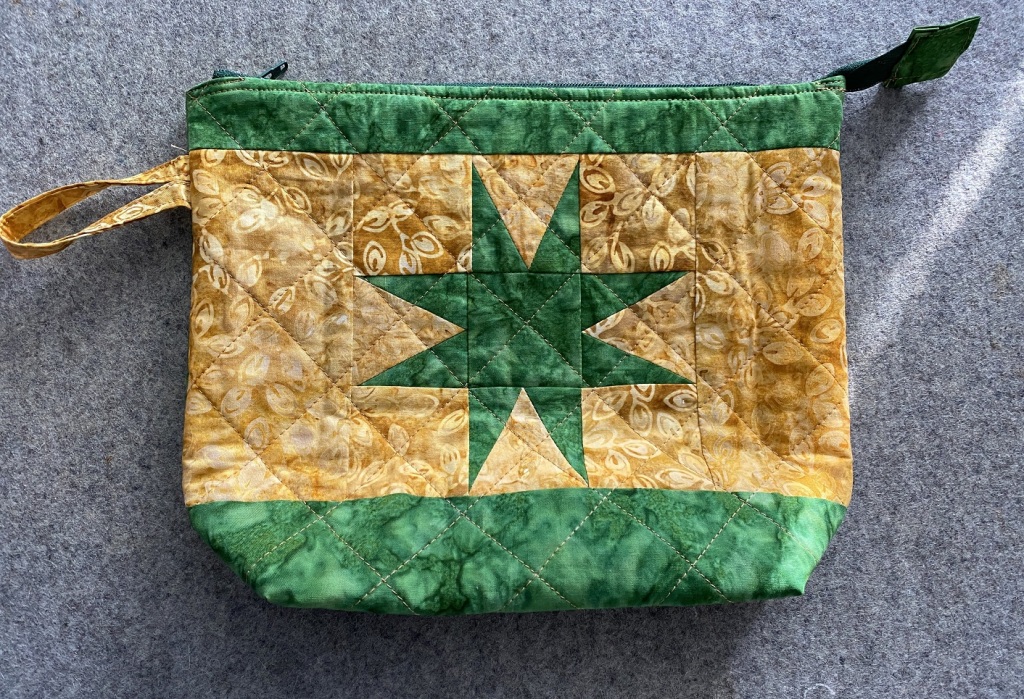
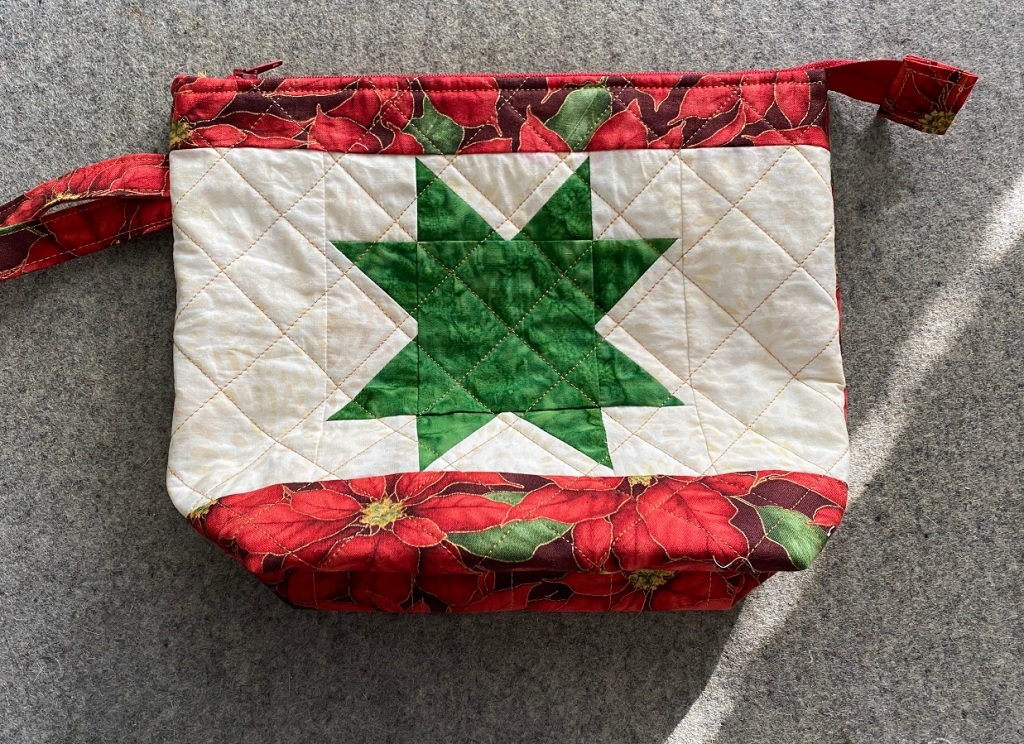
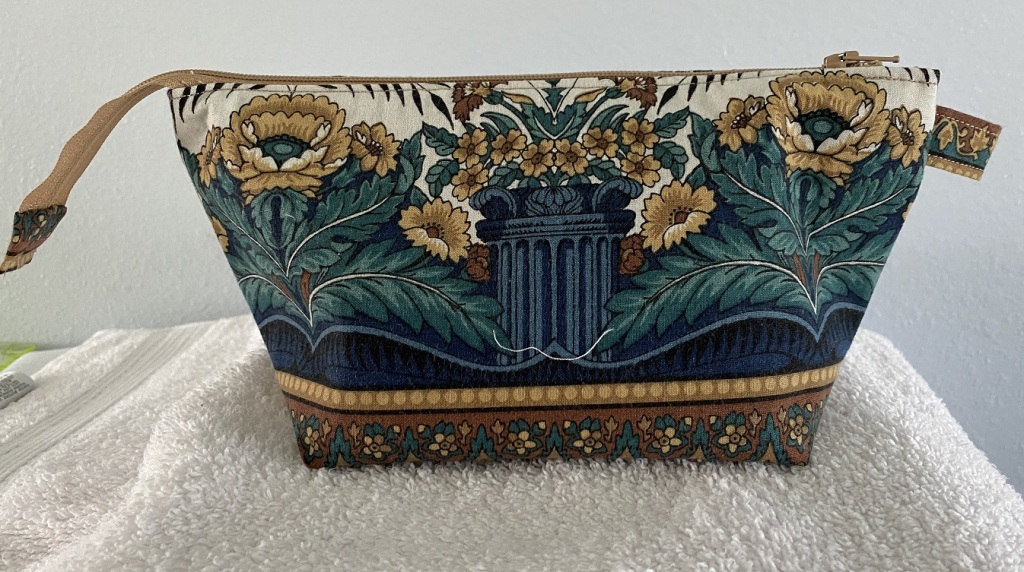
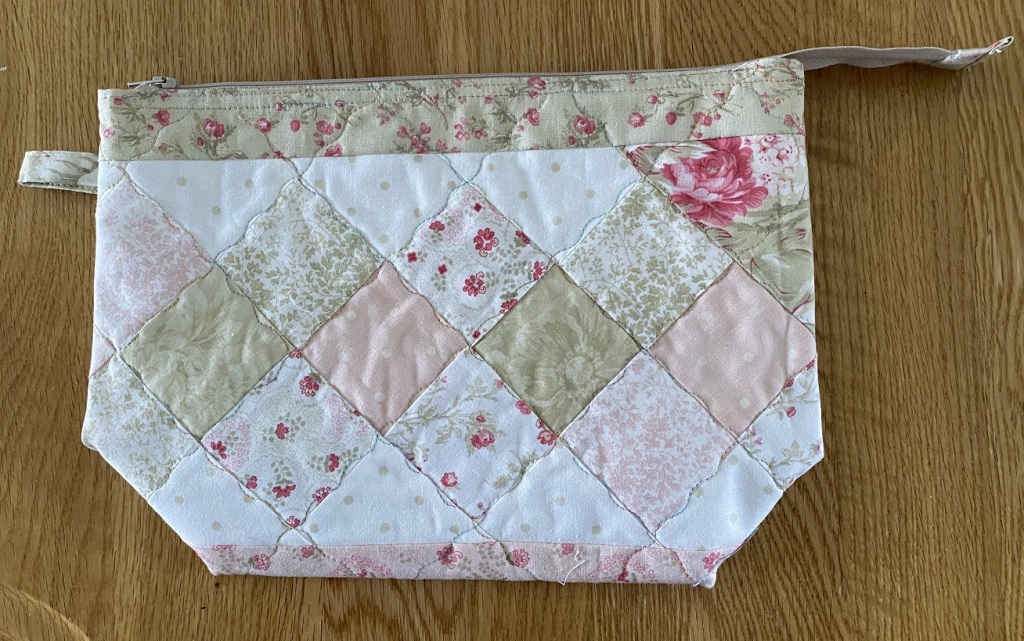
Here are some pouches I have made over the last year or so –
Click on any photo for a larger view and slide show.


These pouches were SO MUCH FUN to make, even though I quilted them on my home sewing machine – either free motion or with a walking foot. But, I knew there was a way to quilt them on a longarm machine!
You could put a piece of “backing fabric” on the machine and quilt up a bunch of fabric and then cut the quilted fabric to size. But …, when you are sewing up the seams on the pouch, the seams can get VERY bulky and it will make your stitching a bit harder (ask me how I know this!)
By pre-cutting both the pouch fabric and the batting, will make the sewing up of your pouch a LOT easier!
Here is a (hopefully) brief tutorial on how you can quilt the “pouch pieces” on your longarm, using extra backing fabric from a quilt that is already on the machine!
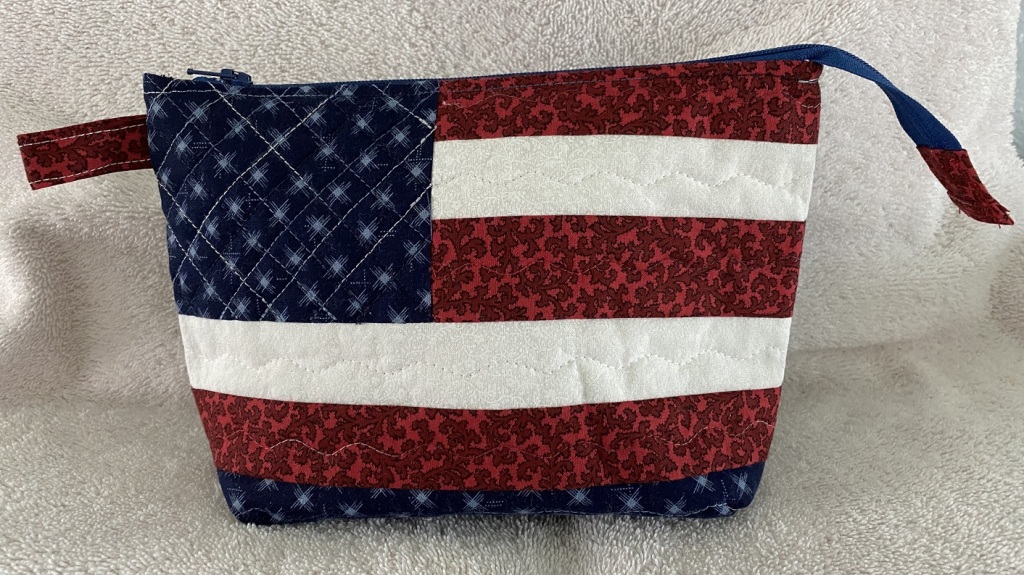
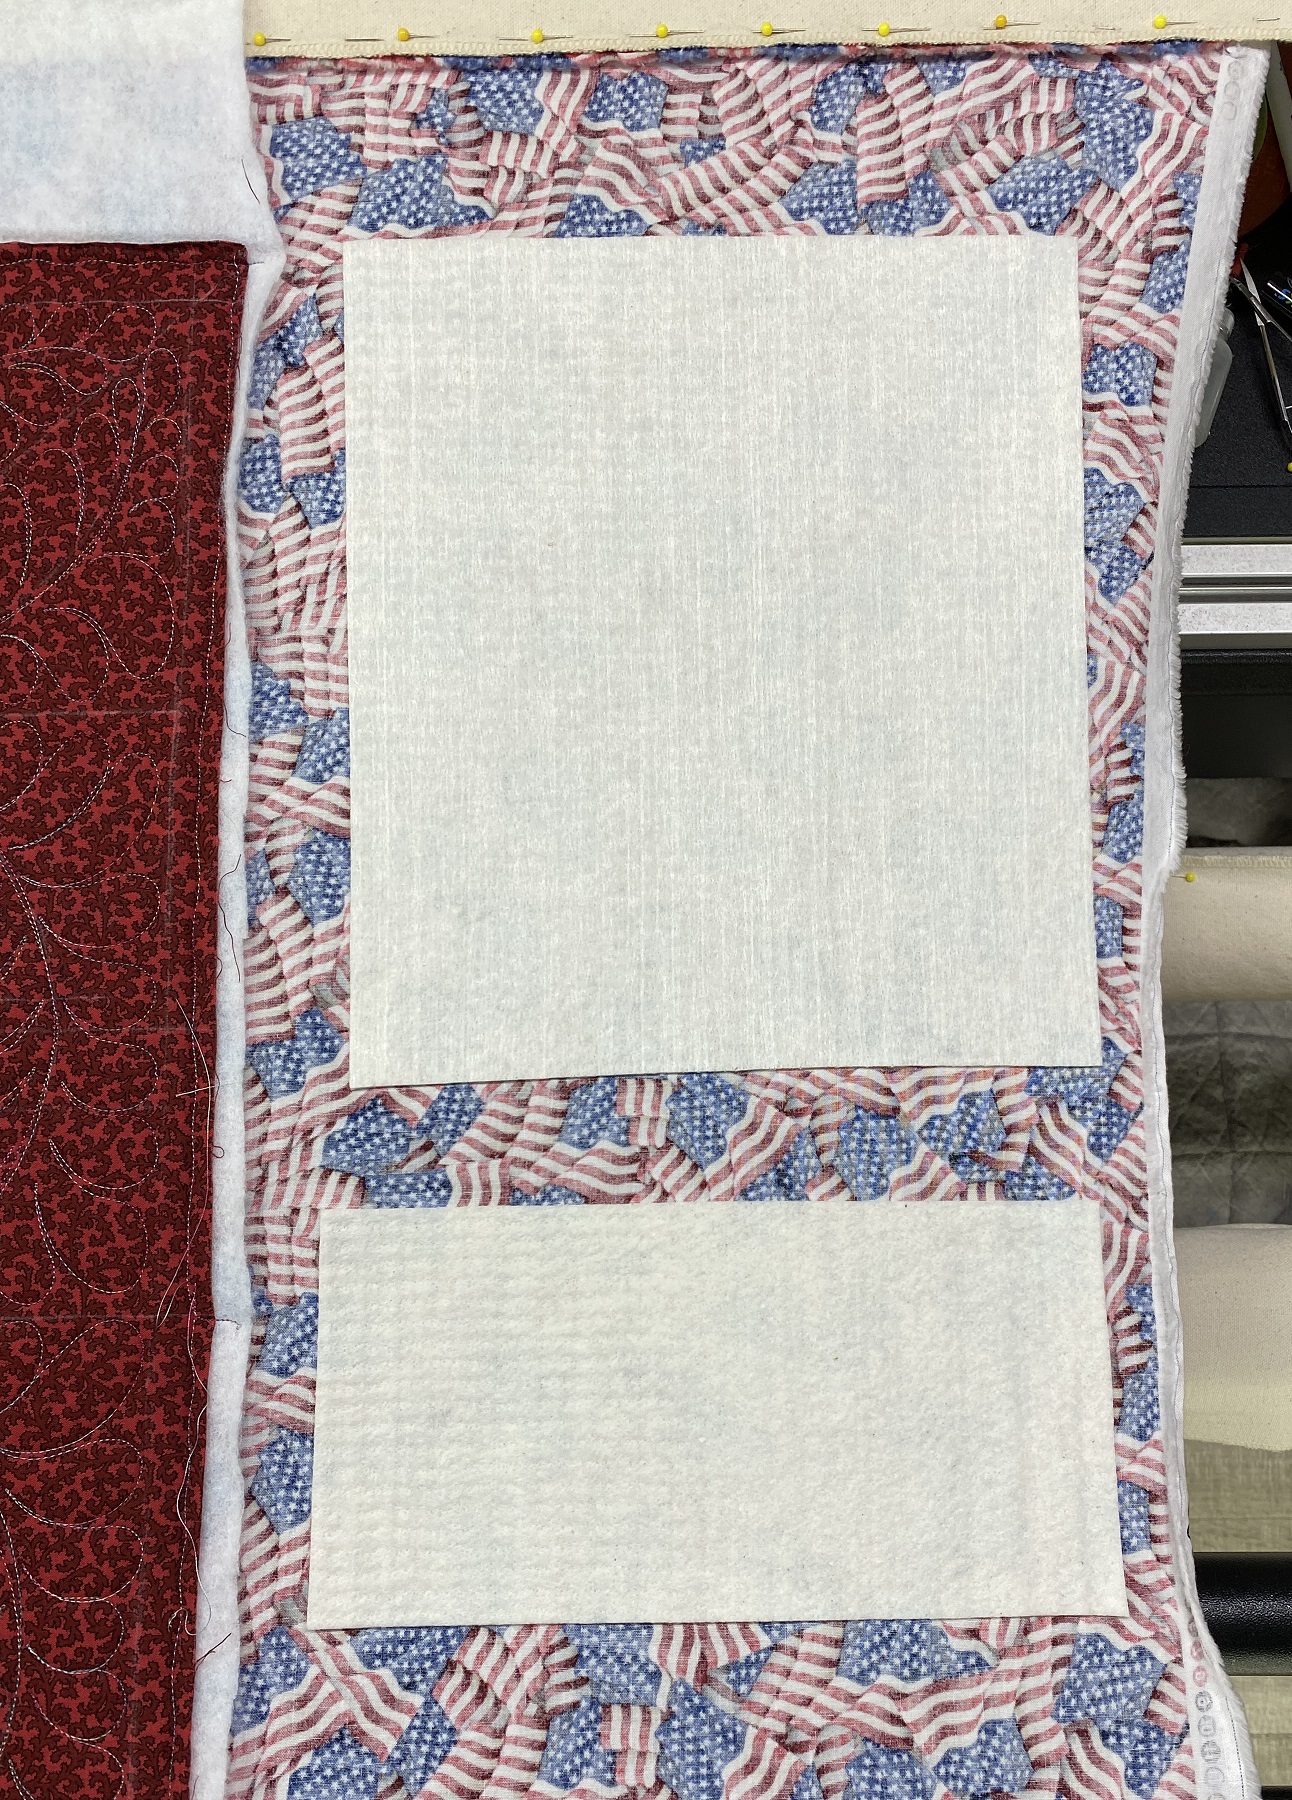
I was working on a quilt and it had really nice Americana fabric on the back. Since this was a quilt for an upcoming class, I had a LOT of extra backing fabric extending from the sides and the bottom of the quilt while the quilt was on the quilting machine. I knew that fabric would make a GREAT pouch or two. Here is what I did.
VERSION 1 – THE BACKING FABRIC WILL BECOME THE FRONT OF THE POUCH
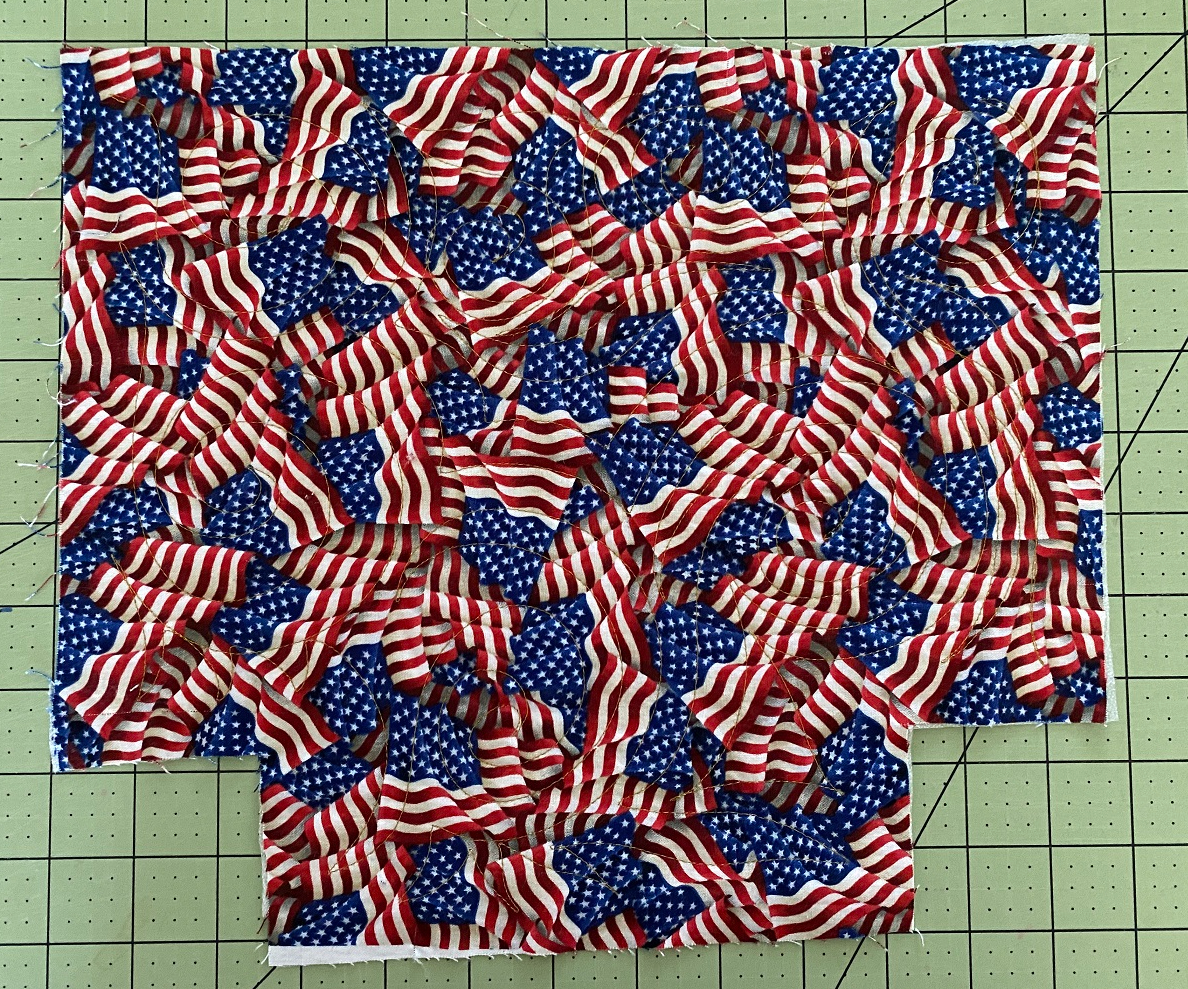
After the quilt was quilted (and the quilt was still on the machine), I determined how much extra backing fabric I had to work with, then cut some batting (I used Warm company, 80/20) to 1 inch less than the size I needed for my finished pouch pieces. I placed the batting pieces on the extended backing fabric having at least 1 or more inches between the batting pieces and used a small “shot” of temporary basting spray to hold my batting in place. When the batting was in place, I quilted it.
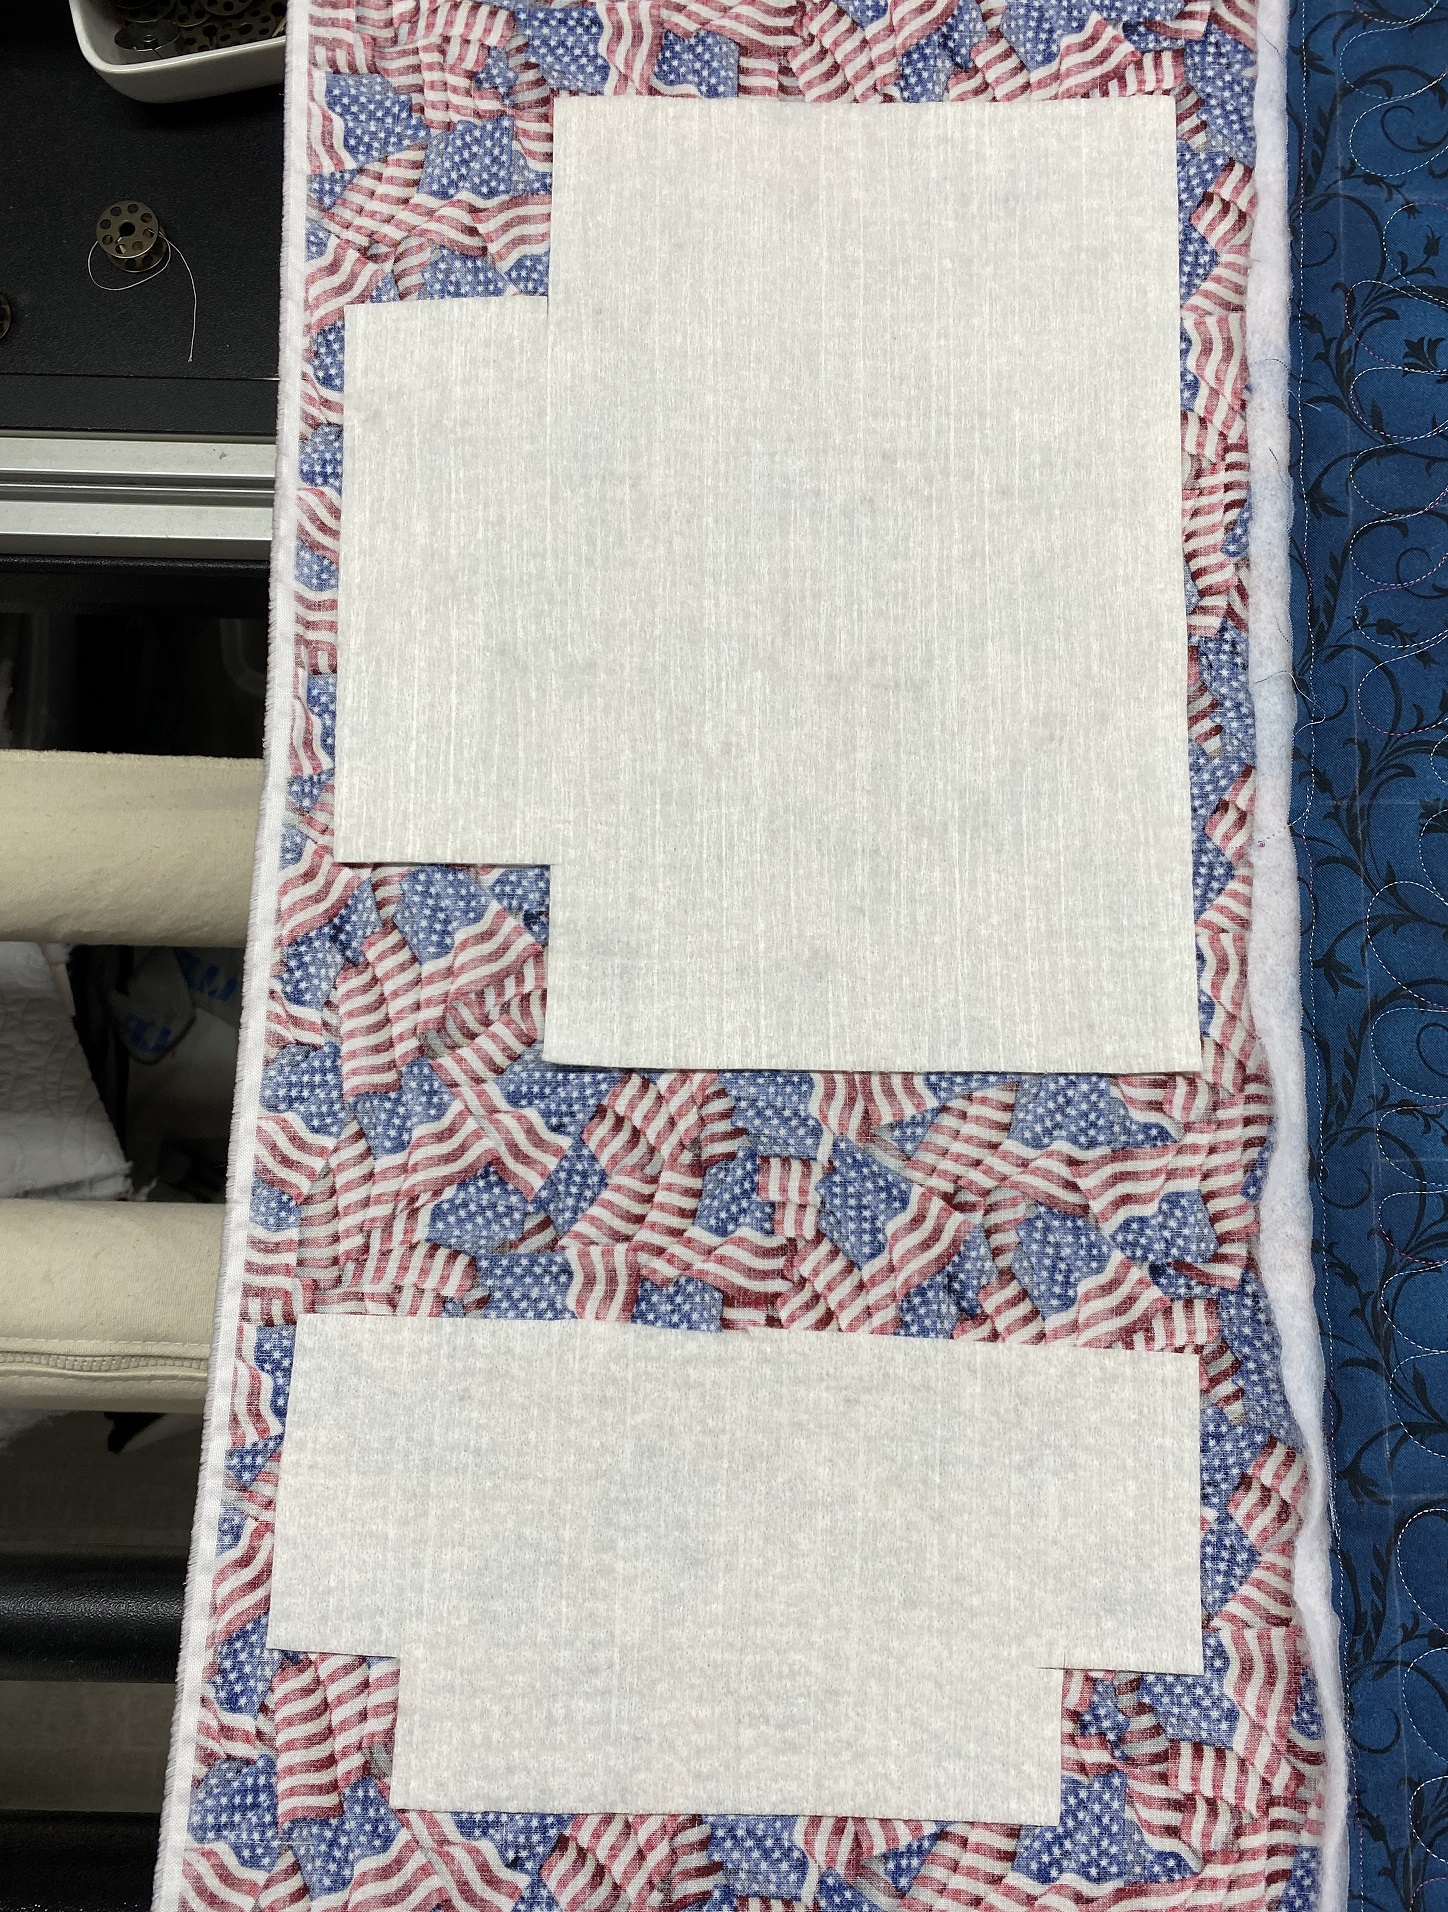
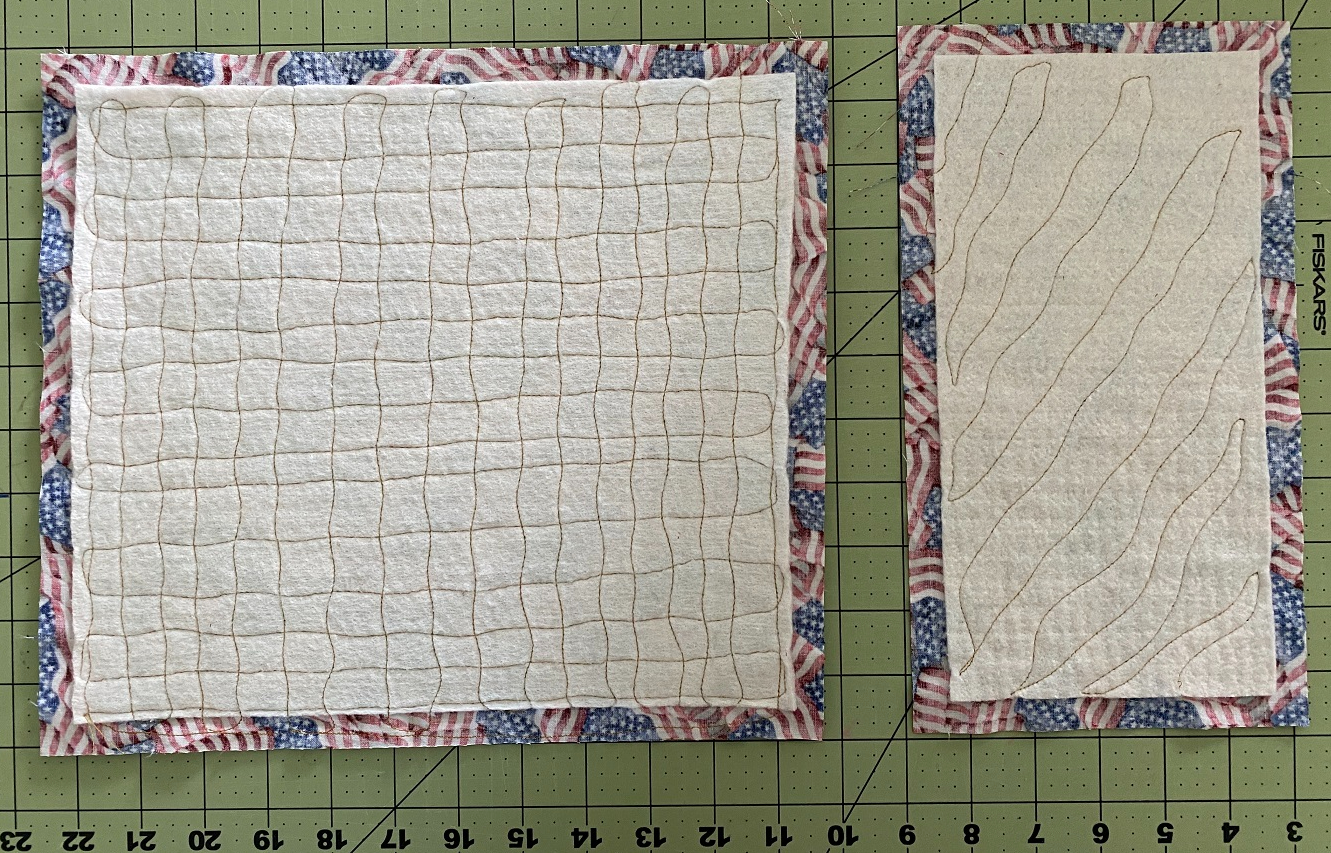
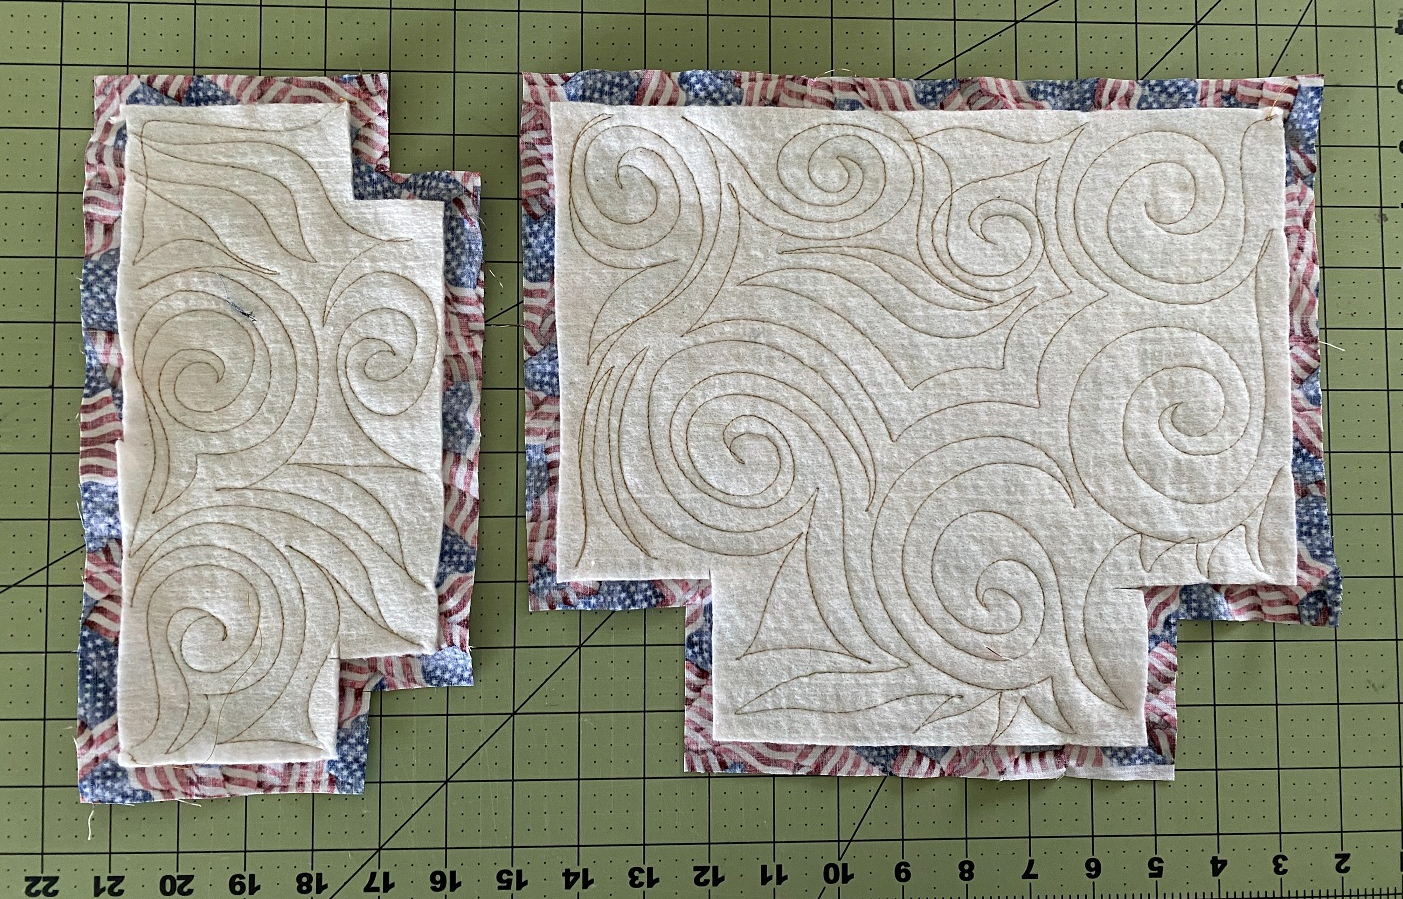
The first photo below show the batting cut for a larger pouch AND a small pouch, in position for quilting, on the left edge of the backing fabric. The second photo shows the quilting. The third and fourth photos show the batting placement and quilting on the right edge of the quilt backing.
For a Cutting Chart of Pouch Sizes Click Here
Click on the photos for a larger view and slide show.


If you would like to make a “boxed bottom” pouch, you can cut your batting that way, too. The photos below show a large and small pouch pieces, in position, ready for quilting on both the left and right edges of the backing fabric.
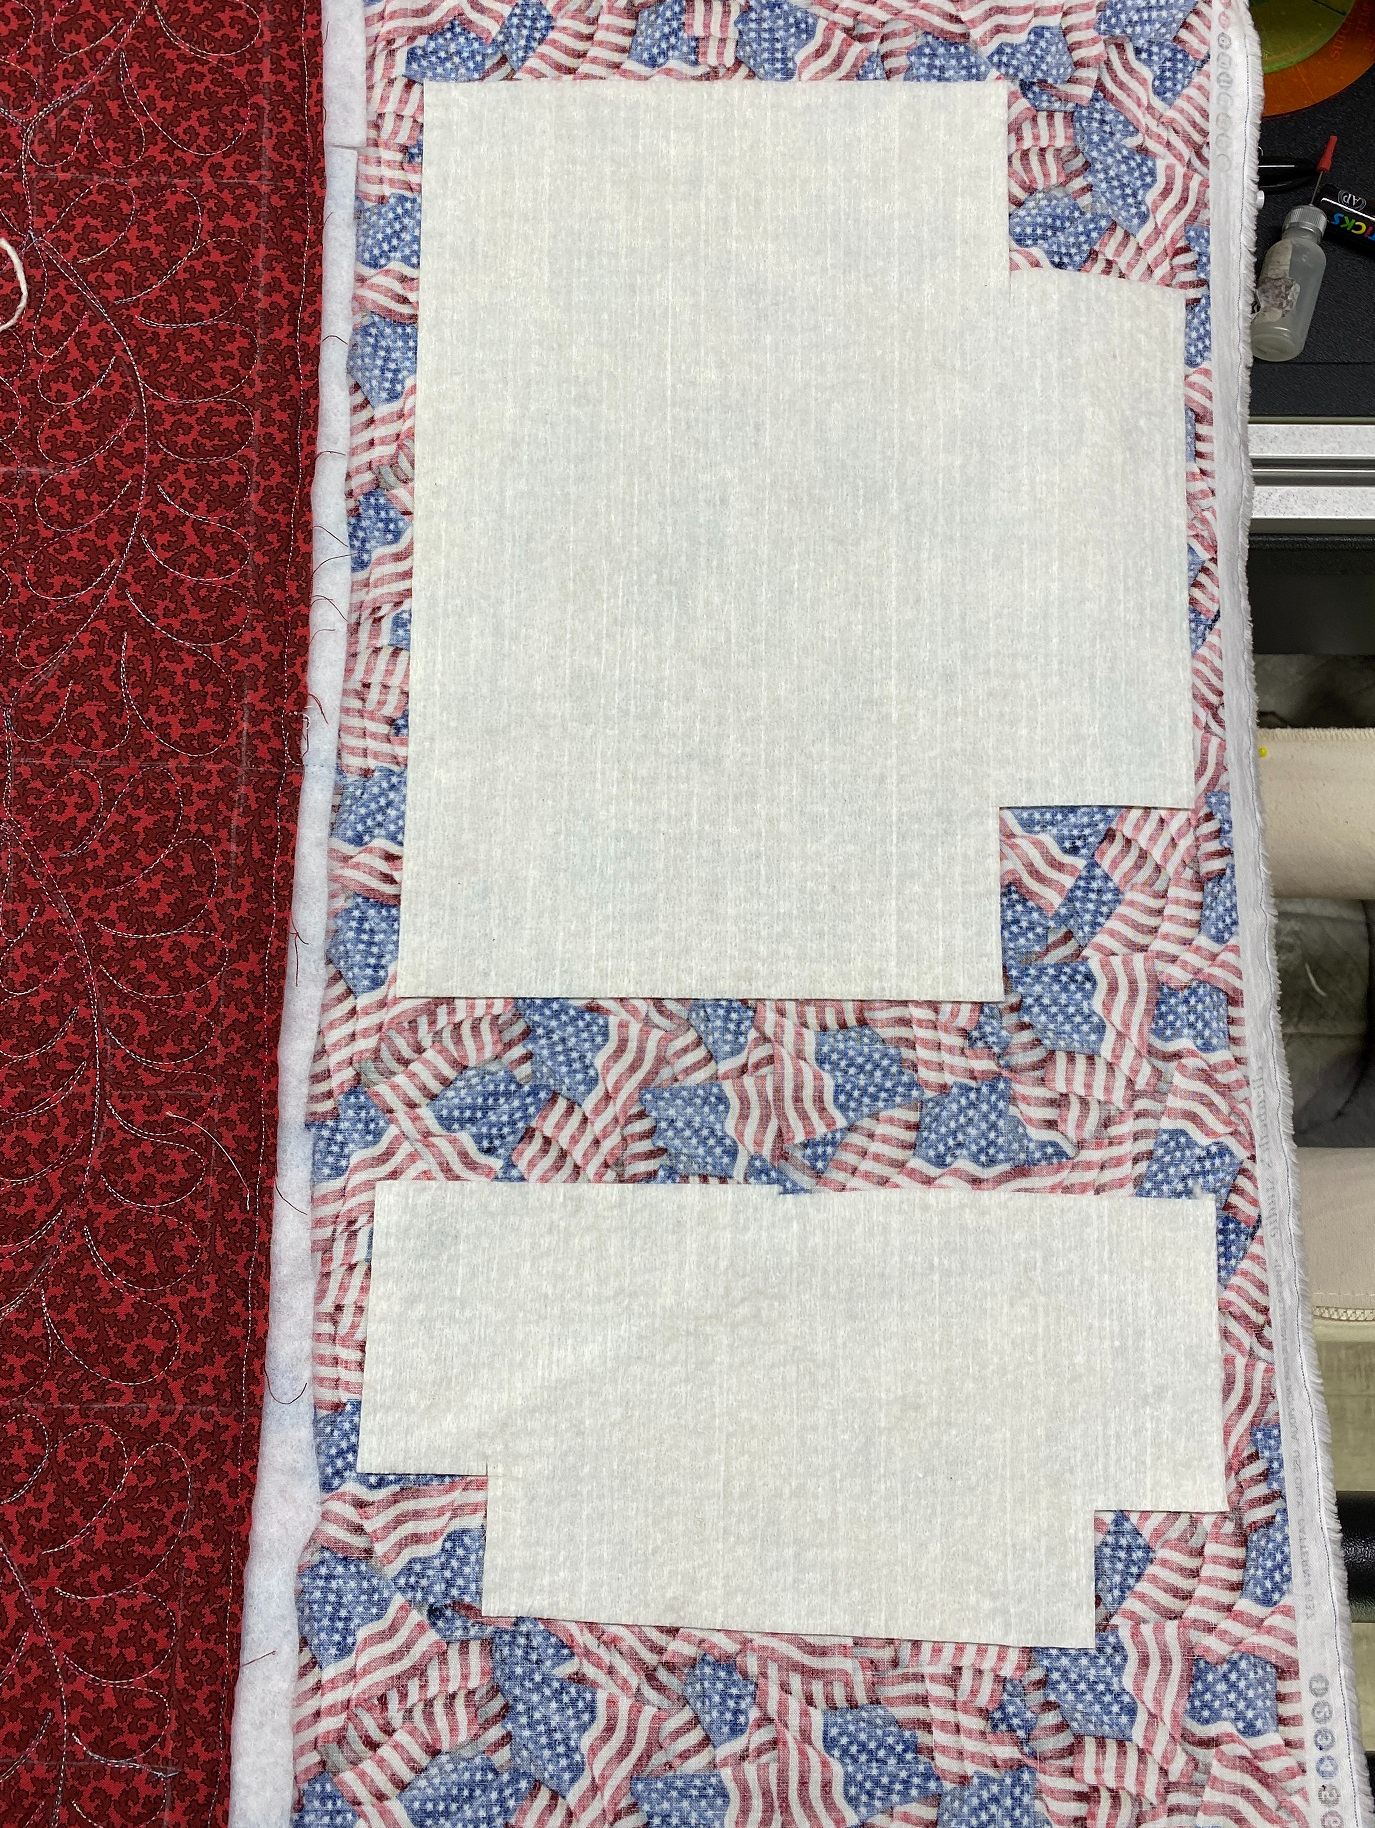
Once the batting pieces are all quilted, remove the quilt, trim it, and then cut apart the pouch pieces leaving a 1/2 inch “border” around all the edges of the batting. This 1/2 in area will be the seam allowances when you are sewing your pouch!


You could start sewing your pouch together right now, but, I like to take one more step, especially with the “batting only” version.
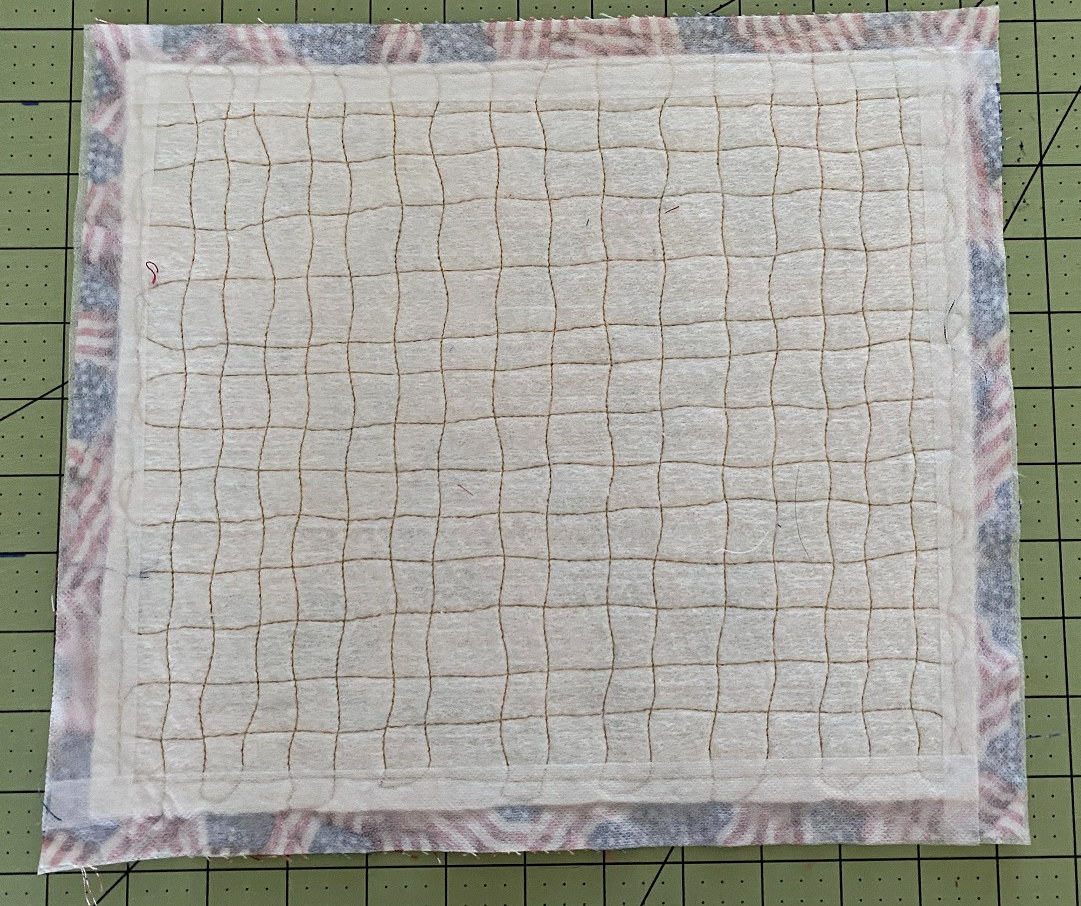
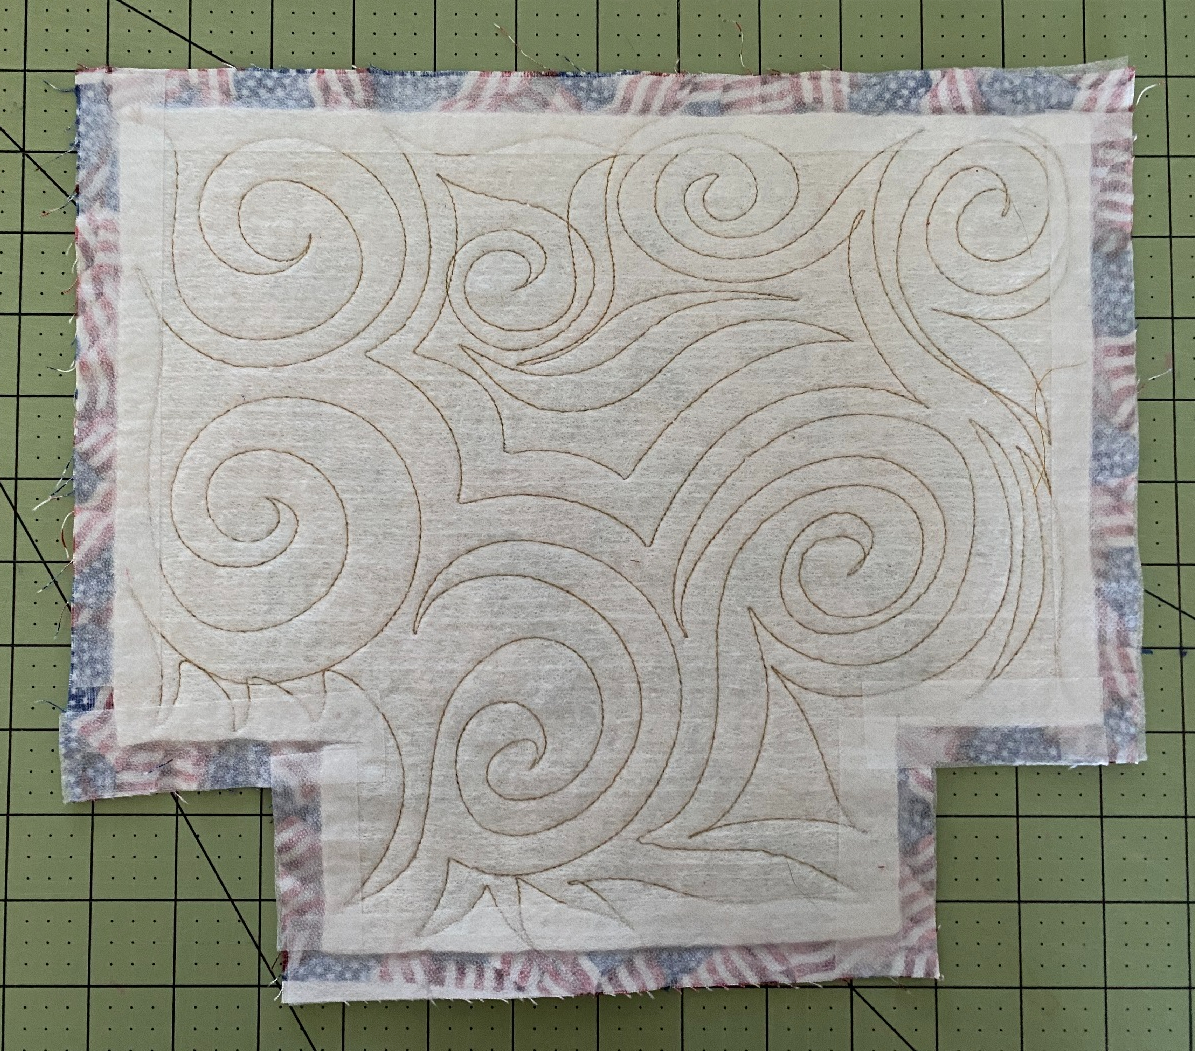
Take some lightweight fusible interfacing (it doesn’t matter what kind) and cut it into 1 inch strips. Fuse these strips to the edges of the backing / batting pieces. The interfacing will hold the edges of the batting when you are sewing, which will make your life so much easier. Do this on ALL the edges of the pouch pieces.
The first photo below shows the strips of interfacing in position before fusing. The second photo is a close up after being fused.


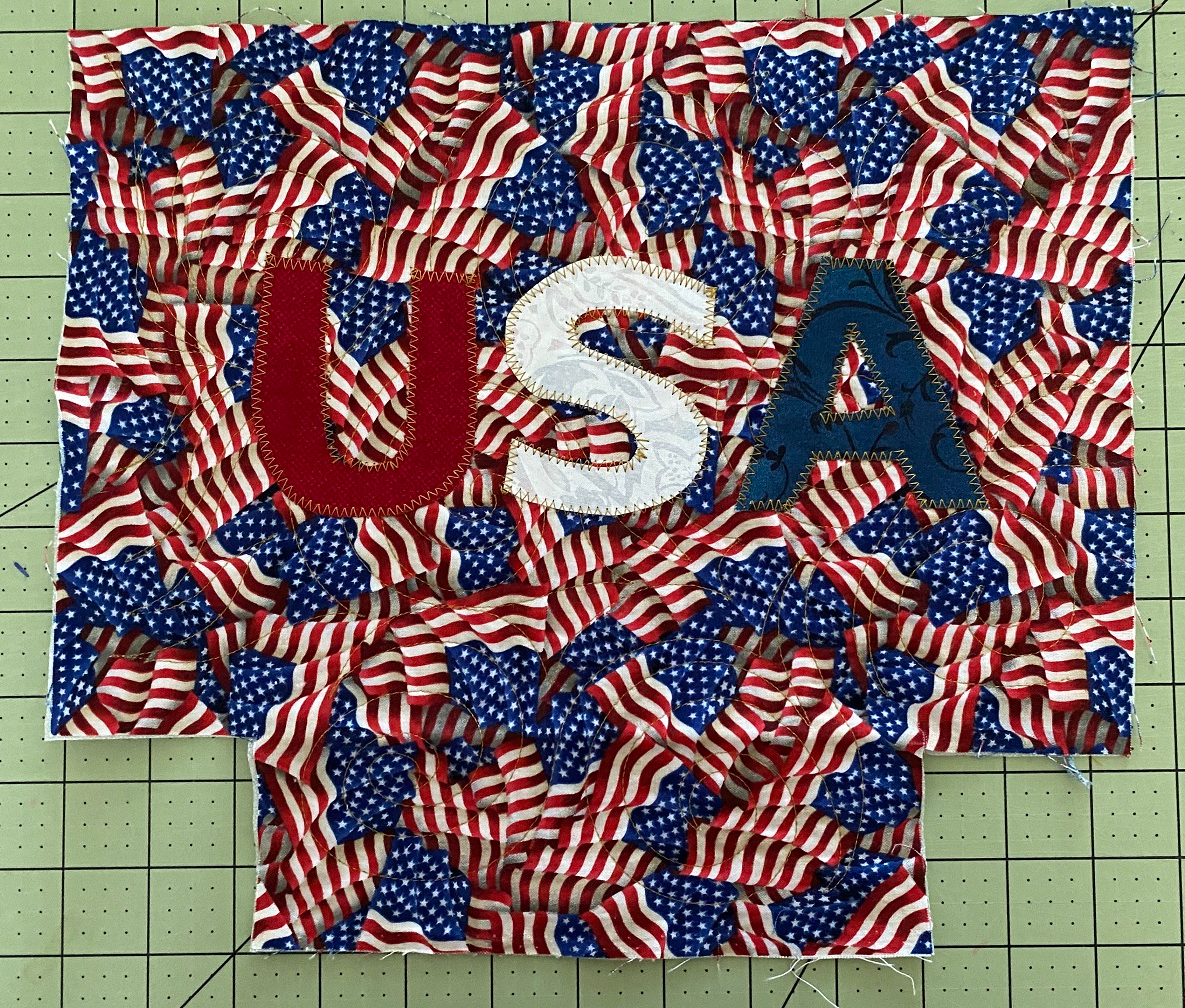
Here are my pouch pieces all quilted, edges fused and ready to be made into a real pouch.

But wait, there’s more! There is WAY too much “open” space on the front of these pieces. So, I found an online applique alphabet and did some simple applique to make –

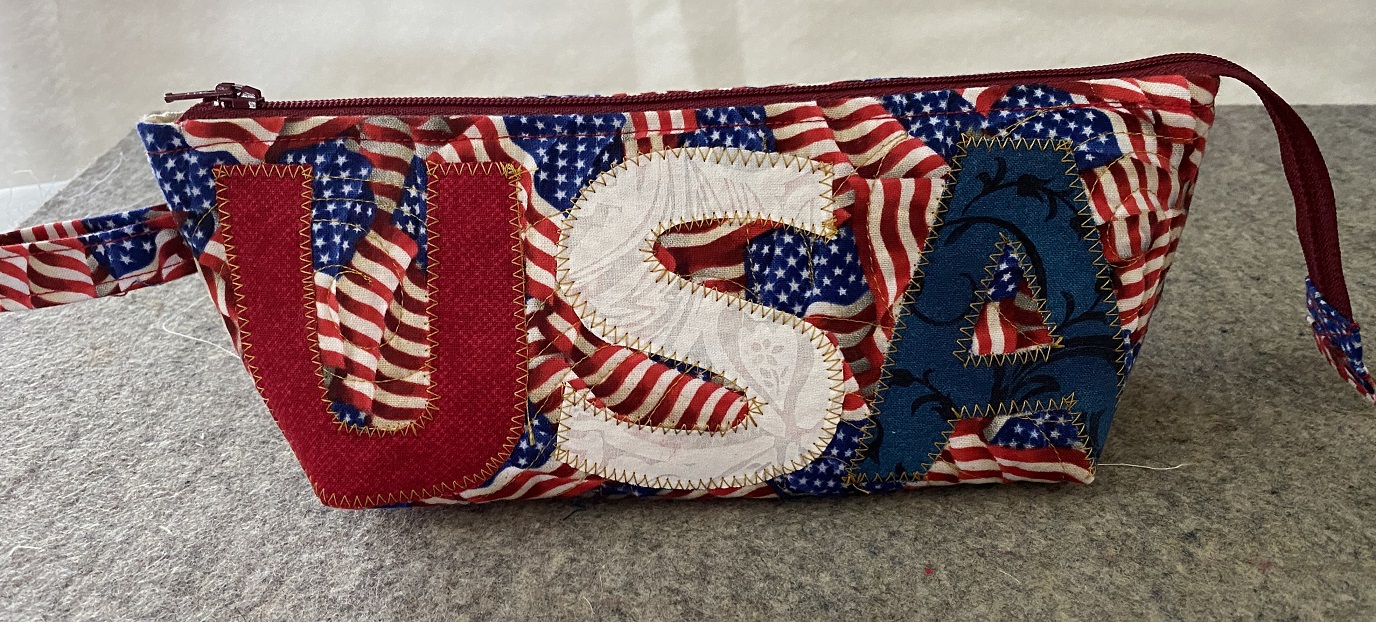
And here are the finished pouches!


There are more versions of the quilted pouches, but that will have to wait for another day.
Here are some resources for the instructions on making the pouches –
For my favorite way of making a zippered pouch Click Here
For another way to make a zippered pouch and to finish the inside Click Here
Here is information on an acrylic template to make boxed pouch bottoms Click Here Note – I do have this template and use it.
There are MANY, MANY tutorials, blog post and videos on how to make pouches. Do an internet search and find one that YOU like!
Hopefully you will be able to make these cute, fun and functional pouches with your “longarm leftovers!”
Quilted Pouches – Version 2 will be posted soon!

Thanks and I loved your thread.I recieved a lovely pouch from you after my assorted thread order!!Soo beautiful. THANKS FOR THE INSPIRATION AND DIRECTIONS.Mary
LikeLike